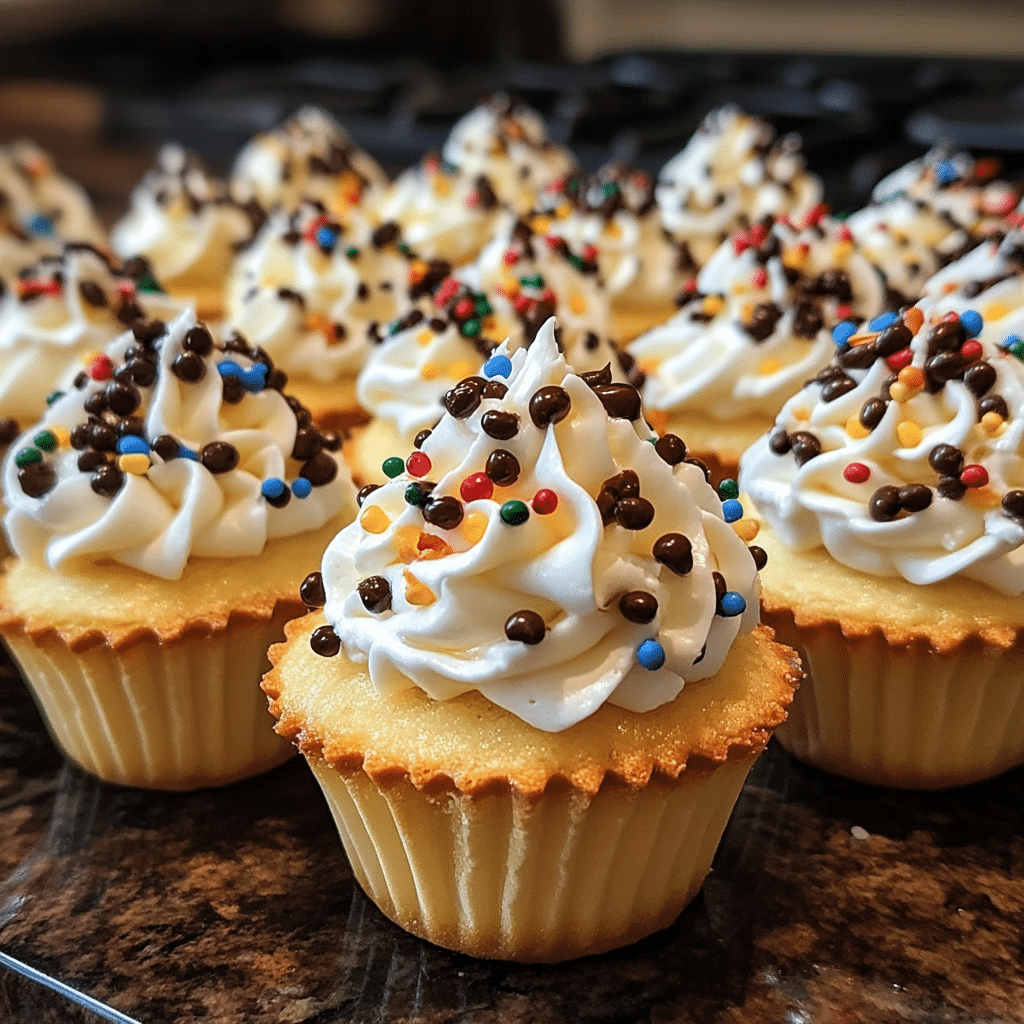
Mini Cannoli Cups are a delightful twist on the traditional Italian cannoli, offering all the flavor in a fun, bite-sized form. These mini desserts feature a crispy shell filled with sweetened ricotta cheese and a hint of citrus, creating the perfect balance of textures and flavors. The addition of chocolate chips, candied fruit, and a dusting of powdered sugar elevates each bite. These individual servings make for a perfect party treat, offering the classic taste of cannoli without the fuss of frying. Whether you’re celebrating a special occasion or simply treating yourself, Mini Cannoli Cups are sure to impress with their elegance and irresistible taste.
Why You’ll Love This Recipe
1. No Frying Required
Unlike traditional cannoli, which require frying the dough shells, these mini cups are baked, making them a healthier and easier alternative. You still get the crispy crunch without the extra effort.
2. Perfectly Portion-Sized
Mini Cannoli Cups are great for portion control, ensuring you enjoy just the right amount of the creamy, dreamy filling without overindulging. Plus, they’re easy to serve at parties or gatherings.
3. Made with Simple Ingredients
This recipe uses simple ingredients you probably already have in your pantry and fridge, making it an accessible dessert for any occasion.
4. Customize the Filling
The filling for these mini cannoli cups is highly customizable. You can add chocolate chips, vanilla extract, candied fruit, or even a splash of your favorite liqueur for a personalized twist.
5. Elegant and Delicious
These mini cups have a beautiful, elegant presentation that is sure to wow guests. They’re as delightful to look at as they are to eat, making them perfect for special events like birthdays, holidays, or dinner parties.

Ingredients
- Mini tart shells (store-bought or homemade)
- Ricotta cheese (drained)
- Powdered sugar
- Vanilla extract
- Orange zest or lemon zest
- Mini chocolate chips
- Chopped candied orange peel or fruit (optional)
- Ground cinnamon (for dusting)
- Powdered sugar (for dusting)
Variations
- Chocolate Dipped: For extra indulgence, dip the edges of the mini cannoli cups in melted chocolate and let them harden before filling them.
- Fruit Filling: Add fresh berries like raspberries or strawberries into the ricotta filling for a fresh and fruity twist.
- Almonds or Pistachios: Add chopped almonds or pistachios to the filling for added crunch and a nutty flavor.
- Vegan Option: Substitute the ricotta cheese with vegan ricotta or coconut-based cream cheese and sweeten with maple syrup or a sugar substitute.
How to Make the Recipe
Step 1: Prepare the Mini Tart Shells
If you’re using store-bought mini tart shells, place them on a baking sheet and bake according to package instructions until they are golden and crispy. If making homemade shells, roll out the dough, cut it into small circles, and press them into mini muffin tins before baking.
Step 2: Make the Ricotta Filling
In a mixing bowl, combine the drained ricotta cheese, powdered sugar, and vanilla extract. Add the orange or lemon zest for a burst of citrus flavor. Stir in the mini chocolate chips and any optional ingredients like chopped candied fruit. Mix until well combined.
Step 3: Fill the Tart Shells
Once the mini tart shells have cooled, carefully spoon or pipe the ricotta filling into each shell, being generous but not overstuffing.
Step 4: Garnish
Lightly dust the filled mini cannoli cups with ground cinnamon and powdered sugar. You can also top with extra chocolate chips, chopped pistachios, or a small piece of candied fruit for decoration.
Step 5: Serve and Enjoy
Serve these delightful Mini Cannoli Cups immediately or refrigerate them for up to an hour before serving to keep the filling chilled. Enjoy!

Tips for Making the Recipe
- Drain the Ricotta Well: Be sure to drain the ricotta cheese thoroughly to prevent the filling from being too watery. You can drain it overnight in a fine-mesh sieve or cheesecloth.
- Use Fresh Tart Shells: If you’re using store-bought tart shells, look for ones with a crispy texture that can hold up to the filling without getting soggy.
- Chill the Filling: To make filling the mini cups easier and to help the flavors meld, refrigerate the ricotta filling for 15-20 minutes before piping it into the shells.
- Don’t Overfill: Keep the filling generous but not overflowing to avoid messy edges. A piping bag or spoon works best for filling.
How to Serve
Mini Cannoli Cups are perfect for any occasion and can be served as a part of a dessert spread or as individual treats at a gathering. Serve them on a platter with other bite-sized desserts like chocolate truffles or fruit tarts for an elegant dessert table. They also make a fantastic treat for after dinner or as part of a holiday dessert buffet. For a more festive presentation, you can garnish them with additional chocolate shavings or mint leaves.
Make Ahead and Storage
Storing Leftovers
If you have any leftovers, store the filled cannoli cups in an airtight container in the refrigerator for up to 2 days. The shells will stay crisp for a little while, but it’s best to eat them within a day for maximum freshness.
Freezing
For best results, freeze the tart shells separately from the filling. Once frozen, you can store them in a freezer-safe bag. When ready to serve, defrost the shells, fill them with the ricotta mixture, and enjoy!
Reheating
If the tart shells have softened after being stored in the fridge, you can re-crisp them in a 350°F (175°C) oven for a few minutes before filling them.
FAQs
1. Can I make these cannoli cups in advance?
Yes, you can prepare the tart shells and the ricotta filling separately ahead of time. Store the shells in an airtight container and refrigerate the filling until you’re ready to assemble.
2. Can I use a different type of cheese?
If you don’t have ricotta, you can substitute with mascarpone cheese for an extra creamy filling, or use a mixture of cream cheese and ricotta.
3. Can I make these without the tart shells?
You can make the filling and serve it in small bowls or as a dip for graham crackers or fresh fruit for a low-carb option.
4. How can I make the filling sweeter?
Adjust the sweetness by adding more powdered sugar to taste, or try drizzling some honey or maple syrup for an extra touch of sweetness.
5. Are Mini Cannoli Cups gluten-free?
If you use gluten-free mini tart shells, these cannoli cups can be made gluten-free.
6. Can I add liqueur to the filling?
Yes! You can add a tablespoon of orange liqueur, like Grand Marnier, or a bit of amaretto to enhance the flavor of the filling.
7. Can I freeze the filled cannoli cups?
It’s best to freeze the tart shells separately from the filling. After filling, the shells may soften, so freezing the components separately ensures a crisp texture.
8. How long can I store these cannoli cups?
They can be stored in an airtight container in the refrigerator for up to 2 days.
9. Can I make these mini cannoli cups without citrus zest?
Yes, if you prefer, you can omit the citrus zest and still enjoy a delicious, creamy cannoli filling. It’ll still taste great without it.
10. Can I decorate these with chocolate?
Absolutely! You can drizzle melted chocolate over the top of the filled cannoli cups for an added layer of flavor and decoration.

Conclusion
Mini Cannoli Cups are a fun and delicious twist on the traditional cannoli, offering the perfect bite-sized indulgence. With their crispy tart shell and creamy, sweetened ricotta filling, these mini treats are sure to impress anyone who takes a bite. Easy to make, customizable, and elegant in presentation, they’re perfect for parties, holidays, or any occasion where you want to serve a little Italian sweetness. Whether you’re an experienced baker or just looking for something new to try, these Mini Cannoli Cups will be a hit every time!
Print
Mini Cannoli Cups
- Total Time: 25 minutes
- Yield: 12–15 mini cannoli cups 1x
- Diet: Vegetarian
Description
These Mini Cannoli Cups are the perfect bite-sized version of the classic Italian dessert. Crisp and crunchy pastry shells filled with a sweet and creamy ricotta filling, and topped with chocolate chips and pistachios for a delightful crunch. These mini treats are ideal for parties, special occasions, or as a sweet indulgence whenever you’re craving a taste of Italy!
Ingredients
For the cannoli cups:
- 1 package of wonton wrappers (about 12 sheets)
- 2 tablespoons melted butter
- 1/4 cup granulated sugar
- 1/2 teaspoon ground cinnamon
For the ricotta filling:
- 1 1/2 cups ricotta cheese (drained)
- 1/2 cup powdered sugar
- 1/2 teaspoon vanilla extract
- 1/4 teaspoon ground cinnamon
- 1/2 cup mini chocolate chips (plus more for garnish)
- 1/4 cup chopped pistachios (optional, for garnish)
Instructions
- Prepare the cannoli cups: Preheat the oven to 375°F (190°C). Brush a mini muffin tin with melted butter or spray with cooking spray. Cut the wonton wrappers into circles using a cookie cutter (or use a glass to cut them). Gently press each wonton wrapper into the muffin tin cups to form a small cup shape.
- Crisp the shells: Brush the top of the wonton wrappers with more melted butter. Sprinkle with granulated sugar and cinnamon for added flavor. Bake in the preheated oven for 8-10 minutes, or until the edges are golden and crispy. Let them cool completely in the muffin tin.
- Make the ricotta filling: In a bowl, combine the drained ricotta cheese, powdered sugar, vanilla extract, and cinnamon. Stir until smooth and well-combined. Fold in the mini chocolate chips.
- Fill the cups: Once the wonton cups are cooled, spoon or pipe the ricotta filling into each shell. Be generous with the filling to ensure each cup is well-filled.
- Garnish: Top each mini cannoli cup with a few extra mini chocolate chips and a sprinkle of chopped pistachios, if desired.
- Serve: Enjoy these bite-sized cannoli cups as a sweet, crunchy treat perfect for any occasion!
Notes
- Make sure to drain the ricotta well before using to avoid excess liquid in the filling.
- If you prefer, you can swap out the pistachios for other toppings like candied fruit or chopped almonds.
- These mini cannoli cups are best served fresh but can be stored in an airtight container in the fridge for up to 2 days.
- Prep Time: 15 minutes
- Cook Time: 10 minutes
- Category: Dessert, Italian
- Method: Baked
- Cuisine: Italian