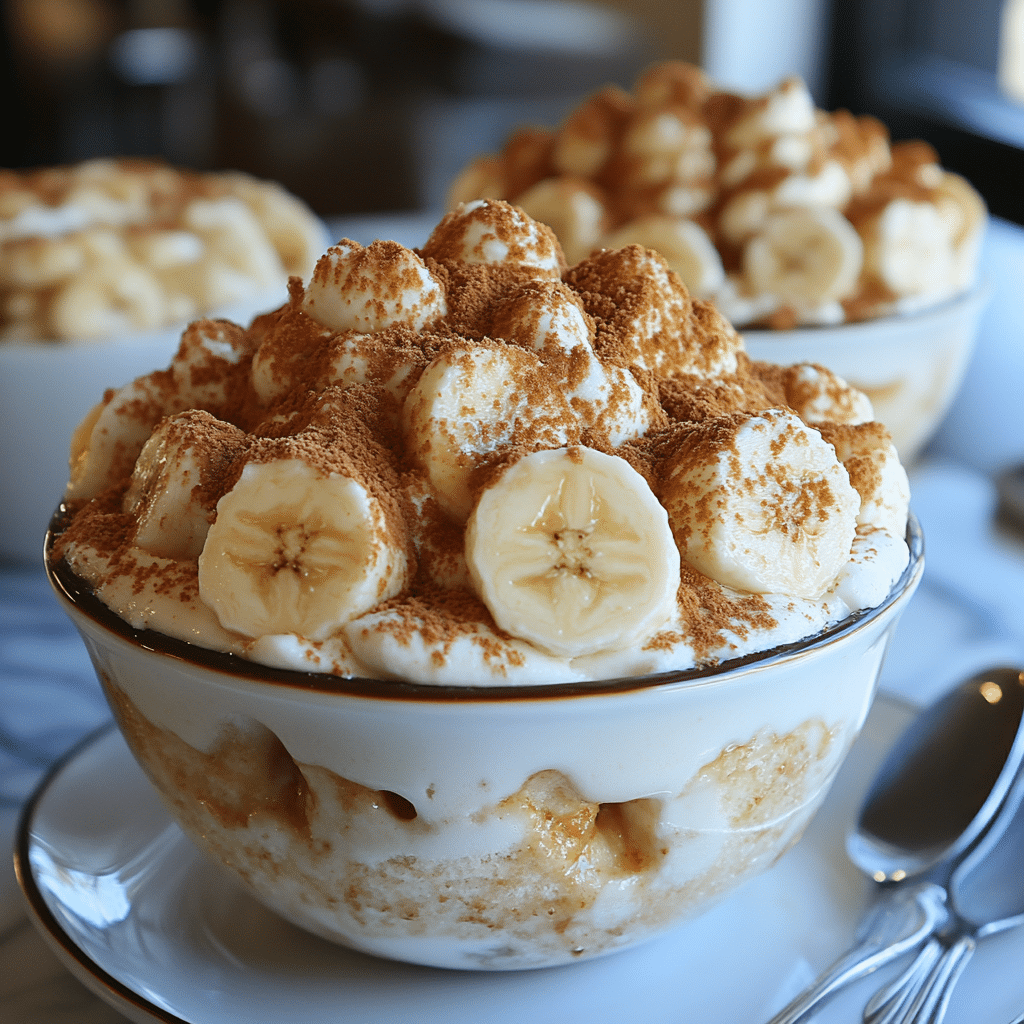
Magnolia Bakery’s Famous Banana Pudding has become a beloved dessert that fans rave about for its perfect balance of creamy, fruity, and crunchy textures. This indulgent treat features layers of vanilla pudding, ripe bananas, and crunchy vanilla wafers, all topped with a luscious whipped cream layer. It’s a dessert that has stood the test of time and continues to be a favorite for all kinds of occasions, from casual family dinners to elegant gatherings.
What makes this recipe even better is how simple it is to make. With just a handful of ingredients, including sweetened condensed milk, instant vanilla pudding, heavy cream, and the iconic Nilla Wafers, you can create a dessert that tastes like it’s been crafted by a professional bakery. Plus, the layers of fresh banana slices lend a touch of natural sweetness that pairs perfectly with the rich and velvety pudding. If you’ve never made banana pudding from scratch, this is the recipe you’ll want to try.
Why You’ll Love This Recipe
1. Simple Ingredients
Using just a few basic ingredients, including sweetened condensed milk, vanilla pudding mix, and heavy cream, this recipe is incredibly easy to make, yet results in a luxurious dessert.
2. Perfectly Balanced Flavors
The creamy, sweet vanilla pudding, fresh bananas, and crunchy vanilla wafers all come together to create a flavor explosion that is both satisfying and comforting.
3. No-Bake Recipe
This banana pudding comes together without any baking required, making it a perfect treat to prepare when you’re short on time or don’t want to turn on the oven.
4. Crowd-Pleasing Dessert
Whether you’re hosting a party or bringing a dish to a potluck, this banana pudding is always a crowd favorite that will disappear in no time.
5. Make Ahead
Banana pudding tastes even better after it has been refrigerated for a few hours, allowing the flavors to meld together. This makes it an ideal make-ahead dessert that you can prepare the day before your event.

Ingredients
- 14 oz can sweetened condensed milk
- 1½ cups ice cold water
- 3.4 oz package instant vanilla pudding mix (Jell-O brand is recommended)
- 3 cups heavy cream
- 11 oz box vanilla wafers (Nabisco Nilla Wafers are recommended)
- 5 ripe bananas, sliced
Variations
- Chocolate Banana Pudding: Add a layer of chocolate pudding or sprinkle chocolate chips between the layers for a twist on the classic.
- Peanut Butter Banana Pudding: Swirl in some creamy peanut butter into the pudding for a nutty flavor that complements the bananas.
- Coconut Banana Pudding: Add shredded coconut to the pudding or top the pudding with toasted coconut flakes for extra flavor and texture.
- Lemon Banana Pudding: Add a small amount of lemon zest to the pudding mixture for a fresh, citrusy note.
How to Make the Recipe
Step 1: Prepare the Pudding Mixture
In a large mixing bowl, whisk together the sweetened condensed milk and ice-cold water. Once combined, add the instant vanilla pudding mix and continue to whisk until the pudding thickens, about 2 minutes.
Step 2: Whip the Cream
In a separate bowl, whip the heavy cream until stiff peaks form. Be sure not to overwhip, as the cream should still be smooth and spreadable.
Step 3: Fold in the Whipped Cream
Gently fold the whipped cream into the pudding mixture. Use a spatula to carefully combine until smooth and well incorporated.
Step 4: Layer the Pudding
In a large serving dish or individual cups, start by placing a layer of vanilla wafers on the bottom. Add a layer of sliced bananas on top of the wafers. Then, spread a generous layer of the pudding mixture over the bananas. Repeat the layers until all ingredients are used, finishing with a final layer of pudding.
Step 5: Chill and Serve
Cover the banana pudding with plastic wrap and refrigerate for at least 4 hours or overnight for the best flavor. When ready to serve, garnish with additional vanilla wafers on top.

Tips for Making the Recipe
- Use Cold Water: Make sure the water is ice-cold when you mix the pudding, as it helps the pudding set properly.
- Chill Before Serving: Allow the pudding to chill for several hours or overnight to let the flavors meld together and give the wafers time to soften.
- Use Ripe Bananas: For the best flavor, make sure your bananas are ripe but not overly ripe, as they should hold their shape when sliced.
- Do Not Overwhip the Cream: When whipping the heavy cream, stop as soon as stiff peaks form to avoid a grainy texture.
- Serve in Individual Cups: If you prefer, you can serve this dessert in individual cups or bowls for easy portion control and a more elegant presentation.
How to Serve
Magnolia Bakery’s Famous Banana Pudding can be served in a large dish for a crowd or in individual cups for a more refined presentation. This dessert is perfect for summer barbecues, holiday gatherings, or a family dinner. It can also be served as a standalone treat or paired with a simple fruit salad for a refreshing side.
Make Ahead and Storage
Storing Leftovers
Store any leftover banana pudding in an airtight container in the refrigerator for up to 2-3 days. However, it’s best enjoyed within 1-2 days for the freshest taste.
Freezing
While you can freeze banana pudding, the texture may change when thawed, as the bananas and wafers may become mushy. For best results, it’s recommended to enjoy the pudding fresh or within a few days of making it.
Reheating
Banana pudding is served cold, so there is no need to reheat. Simply chill in the refrigerator until ready to serve.
FAQs
1. Can I use a different brand of vanilla pudding mix?
Yes, you can use any brand of instant vanilla pudding mix, but Jell-O brand is recommended for the best results.
2. Can I use low-fat or fat-free ingredients?
You can substitute low-fat or fat-free versions of the sweetened condensed milk, heavy cream, and pudding mix, but the texture and flavor may be slightly different.
3. How long does this pudding need to chill?
For the best results, refrigerate the pudding for at least 4 hours, but overnight is preferred to allow the flavors to fully develop.
4. Can I make this dessert a day in advance?
Yes, this dessert is perfect for making ahead. It actually tastes even better after it has been refrigerated for a day or two.
5. Can I use a different type of cookie instead of Nilla Wafers?
While Nilla Wafers are the traditional choice, you can substitute them with other cookies like shortbread or graham crackers for a different flavor and texture.
6. How do I keep the bananas from browning?
To prevent the bananas from browning, you can toss them in a small amount of lemon juice before layering them in the pudding.
7. Can I add more fruit to the pudding?
Yes, you can add other fruits like strawberries or blueberries to the layers for extra flavor and color.
8. Can I use whipped topping instead of whipping my own cream?
Yes, you can substitute whipped topping for the freshly whipped cream, but homemade whipped cream will give the pudding a richer, creamier taste.
9. Is this banana pudding gluten-free?
Yes, as long as you use gluten-free vanilla wafers, this recipe can be made gluten-free.
10. How long will the banana pudding keep in the fridge?
Banana pudding is best eaten within 2-3 days. After that, the bananas and wafers may begin to break down.

Conclusion
Magnolia Bakery’s Famous Banana Pudding is a showstopper dessert that’s both easy to make and absolutely delicious. With layers of creamy pudding, fresh bananas, and crunchy vanilla wafers, it’s a dessert that everyone will love. Whether you’re making it for a holiday gathering or just because, this banana pudding is sure to become a new favorite in your dessert repertoire. Don’t forget to refrigerate it for several hours before serving – the wait is well worth it!
Print
Magnolia Bakery’s Famous Banana Pudding: A Classic Dessert Everyone Will Love
- Total Time: 4 hours 15 minutes (or overnight)
- Yield: 8–10 servings 1x
- Diet: Gluten Free
Description
This creamy, indulgent banana pudding is the signature dessert from Magnolia Bakery! With layers of smooth vanilla pudding, fresh banana slices, and crunchy Nilla wafers, it’s a perfect treat for any occasion. Whether served at a family gathering or as a simple dessert, it’s sure to be a crowd-pleaser!
Ingredients
- 1 (14 oz) can sweetened condensed milk
- 1 ½ cups ice-cold water
- 1 (3.4 oz) package instant vanilla pudding mix (Jell-O brand recommended)
- 3 cups heavy cream
- 1 (11 oz) box vanilla wafers (Nabisco Nilla Wafers recommended)
- 5 ripe bananas, sliced
Instructions
-
Make the Pudding:
- In a large bowl, whisk together the sweetened condensed milk and ice-cold water until smooth.
- Add the instant vanilla pudding mix and whisk for 2 minutes, until the pudding thickens.
- Set the pudding aside to firm up while you prepare the rest of the ingredients.
-
Whip the Cream:
- In a separate bowl, beat the heavy cream with an electric mixer on high speed until soft peaks form (about 3-5 minutes).
-
Combine the Pudding and Whipped Cream:
- Gently fold the whipped cream into the prepared pudding mixture until fully combined and smooth.
-
Assemble the Banana Pudding:
- In a 9×13-inch dish (or a similar-sized trifle dish), layer the ingredients starting with a layer of vanilla wafers at the bottom.
- Add a layer of sliced bananas over the wafers.
- Spoon about a third of the pudding mixture over the bananas and wafers, spreading it evenly.
- Repeat the layers, finishing with a layer of pudding on top.
-
Chill:
- Cover the dish with plastic wrap and refrigerate for at least 4 hours, or overnight, to allow the flavors to meld and the pudding to firm up.
-
Serve:
- Before serving, garnish with extra vanilla wafers on top, or if you prefer, you can lightly crush some wafers and sprinkle them on top for added crunch.
Notes
- Make sure to use cold water when making the pudding to ensure it sets properly.
- For an even creamier pudding, you can add more whipped cream or use a bit more heavy cream.
- The banana slices can turn brown over time, so it’s best to serve this dish within 24 hours for optimal freshness.
- Prep Time: Dairy Gluten (from the vanilla wafers)
- Cook Time: 4 hours (or overnight)
- Category: Dessert
- Method: No-bake, Chilled
- Cuisine: American