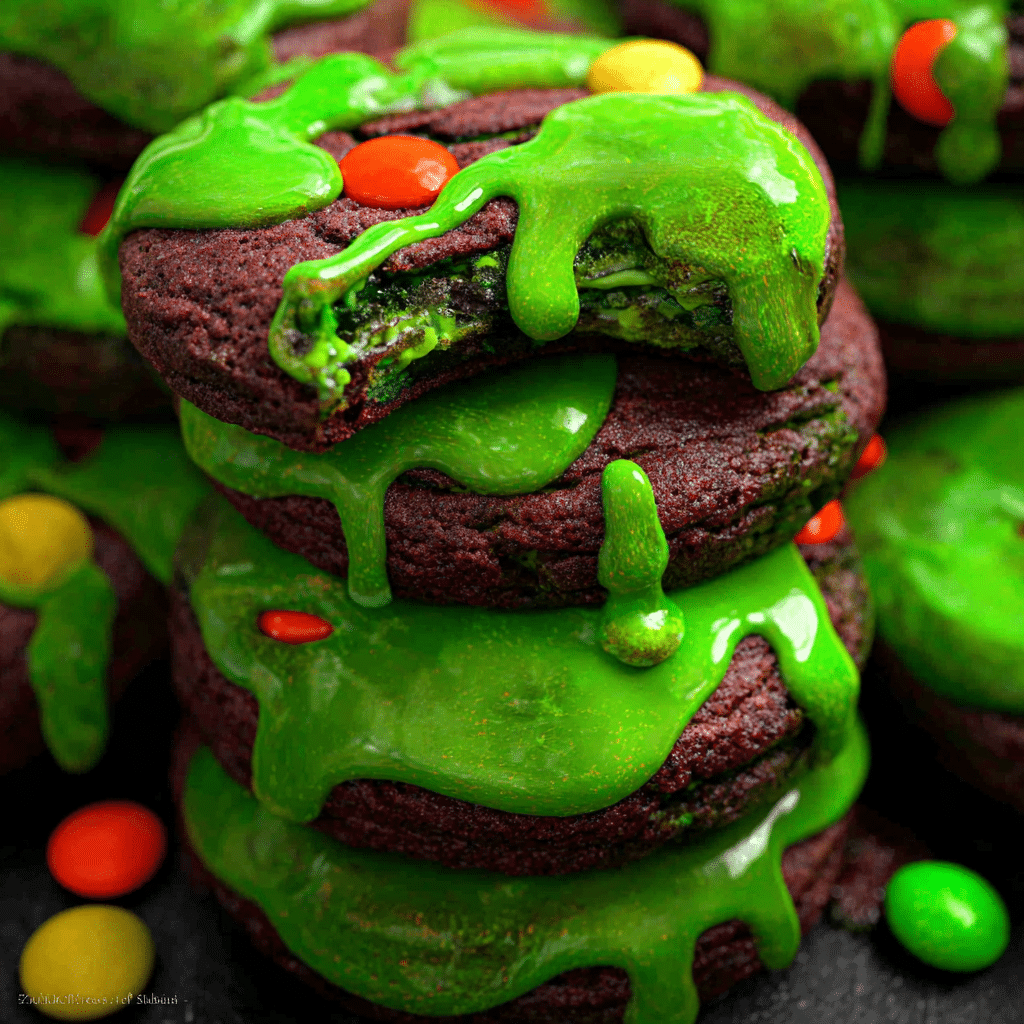
If you’re looking to bring a spooky, fun twist to your Halloween treats this year, Slime-Filled Halloween Cookies are exactly what you need! These delightfully gooey, colorful cookies surprise with a oozy slime center that kids and guests will absolutely adore. The recipe is easy to follow, fast to make, and guaranteed to steal the show at any Halloween party or family gathering. With just the right balance of texture, taste, and that eerie slime effect, these cookies will quickly become a festive favorite!
Why You’ll Love This Recipe
- Quick and Easy: You can whip up Slime-Filled Halloween Cookies in less than an hour, perfect for last-minute plans or busy schedules.
- Kid-Approved Fun: The gooey slime center sparks excitement and amazement, making baking a fun activity for kids too.
- Visually Stunning: Vibrant slime colors and spooky shapes create eye-catching treats that double as Halloween decorations.
- Customizable Flavors: You can easily tailor the cookie dough and slime filling to suit any taste or dietary preference.
- Perfect Party Treat: These cookies are bite-sized, mess-free, and a memorable way to sweeten up Halloween festivities.
Ingredients You’ll Need
This recipe relies on simple, everyday ingredients that come together to create both the cookie’s soft texture and the slime’s colorful, stretchy magic. Each component plays a key role in balancing flavor and achieving that perfect, gooey center.
- All-purpose flour: The base of the cookie dough, providing structure and softness.
- Butter: Adds richness and helps create a tender crumb in the cookies.
- Sugar: Balances sweetness and aids in browning for a lovely golden finish.
- Eggs: Bind the ingredients and contribute to the cookie’s chewy texture.
- Baking powder: Ensures the cookies rise just enough to hold the slime without collapsing.
- Vanilla extract: Enhances overall flavor with a warm, inviting aroma.
- Gel food coloring: The star of the slime effect, giving it that eerie, vibrant glow.
- Powdered sugar: Helps thicken the slime filling and adds a mild sweetness.
- Clear corn syrup: Provides the stretchy consistency for the slime texture.
- Water: Combines the slime ingredients for the perfect viscosity.
Variations for Slime-Filled Halloween Cookies
One of the best things about these cookies is how easy it is to tweak them to your liking. Whether you want to experiment with new colors, flavors, or dietary needs, these variations make it simple and fun to customize your slime-filled creations.
- Chocolate Swap: Use cocoa powder in place of some flour for a rich, chocolatey cookie base.
- Vegan Version: Substitute butter with coconut oil and use flax eggs for a plant-based alternative.
- Flavored Slime: Add peppermint or fruit extracts to the slime for a surprising burst of flavor.
- Gluten-Free: Replace all-purpose flour with a gluten-free blend to keep the cookies safe for sensitive eaters.
- Glow-in-the-Dark: Incorporate edible glowing powder to make the slime glow under blacklight for extra spookiness.

How to Make Slime-Filled Halloween Cookies
Step 1: Prepare the Cookie Dough
Begin by creaming softened butter and sugar together in a large bowl until light and fluffy. Add the eggs and vanilla extract next, mixing well until combined. In a separate bowl, whisk together flour and baking powder, then gradually incorporate it into your wet ingredients to form a soft dough.
Step 2: Make the Slime Filling
In a small bowl, combine powdered sugar, clear corn syrup, and a splash of water. Stir until smooth, then add gel food coloring to reach your desired slime color. The mixture should be thick yet pourable, perfect for oozing inside the cookies.
Step 3: Shape the Cookies
Divide the dough into small balls. Flatten each ball slightly, then create an indentation in the center to hold the slime filling. Spoon a small amount of the slime mixture into these indentations, being careful not to overfill.
Step 4: Seal and Bake
Take another small piece of dough to cover the slime on each cookie, gently sealing around the edges to enclose the gooey center. Place the cookies on a lined baking sheet and bake at 350°F (175°C) for about 12-15 minutes, until the edges are golden but the slime remains intact inside.
Step 5: Cool and Enjoy
Let the cookies cool on the baking sheet for 10 minutes before transferring to a wire rack. This helps the slime center set slightly but remain delightfully stretchy for the perfect Halloween surprise.
Pro Tips for Making Slime-Filled Halloween Cookies
- Chill the Dough: Cooling the dough for 15 minutes before shaping helps prevent the slime from leaking during baking.
- Use Gel Coloring: Gel food colors give more vibrant slime hues without thinning out the mixture.
- Don’t Overfill: Just a teaspoon of slime per cookie ensures a cute ooze without messy spills.
- Seal Well: Press edges firmly to trap the slime overflowing and maintain cookie shape.
- Cool Properly: Allow sufficient cooling time to avoid burns and keep the slime stretchy instead of liquid.
How to Serve Slime-Filled Halloween Cookies
Garnishes
Consider sprinkling the cookies with edible glitter or Halloween-themed sugar crystals to add an extra sparkle that catches the light and complements the slime’s gooey center.
Side Dishes
Pair these fun cookies with a chilled glass of spiced apple cider or a cup of creamy pumpkin latte to enhance the festive Halloween vibe and balance the sweetness.
Creative Ways to Present
Show off your Slime-Filled Halloween Cookies on a platter stacked around creepy, plastic spiders or faux cobwebs for an immersive spooky display that guests will remember.
Make Ahead and Storage
Storing Leftovers
Store cookies in an airtight container at room temperature for up to 3 days to keep the slime gooey and the cookie base soft and fresh.
Freezing
You can freeze unbaked slime-filled cookies by sealing them individually on a baking tray, then transferring to a freezer bag; bake from frozen with a couple of extra minutes in the oven.
Reheating
Warm your cookies in a low oven or microwave briefly to revive the stretchy slime center without melting it completely, perfect for reviving that oozy effect.
FAQs
What exactly is the slime made of?
The slime is a simple mixture of powdered sugar, clear corn syrup, and a touch of water, combined with gel food coloring for that vibrant, stretchy center.
Are Slime-Filled Halloween Cookies safe for kids?
Absolutely! All ingredients are edible and child-friendly, but it’s best to supervise younger children while eating to avoid sticky messes or choking hazards.
Can I make the slime filling in advance?
Yes, you can prepare the slime a day ahead and store it tightly covered in the refrigerator; stir gently before using to restore consistency.
What’s the best way to color the slime without making it runny?
Using gel-based food coloring is key since it adds intense color without altering the slime’s thick, gooey texture.
Can I substitute corn syrup if I don’t have it?
You can use honey or golden syrup as alternatives, but these might slightly change the slime’s stretchiness and sweetness level.
Final Thoughts
These Slime-Filled Halloween Cookies are a fantastic, crowd-pleasing treat that combine easy preparation with great visual and taste results. Whether you’re baking with kids or just want to dazzle your guests, this recipe hits all the right spooky notes. Dive into the gooey fun this Halloween and watch those slime-filled smiles appear instantly!