There’s something undeniably comforting about the smell of freshly baked bread filling the house. It evokes feelings of warmth, nostalgia, and the simple joys of homemade goodness. Grandma’s Perfect Homemade Bread recipe is a classic that’s been passed down through generations, creating cherished memories in kitchens around the world. Whether you’re a seasoned baker or a beginner, this recipe will help you create soft, fluffy bread with a deliciously golden crust that’s perfect for sandwiches, toasts, or simply enjoying with butter.
Baking bread from scratch may seem intimidating, but it’s surprisingly easy, especially with Grandma’s tried-and-true method. The recipe uses basic ingredients that you likely already have in your pantry, making it an accessible option for anyone looking to try their hand at baking. The magic lies in the careful balance of ingredients, the right kneading technique, and the patience to allow the dough to rise. The result is a loaf of bread that’s both soft on the inside and beautifully crusted on the outside—a true testament to the art of baking.
Whether you’re baking this bread for a family meal or as a gift to share with loved ones, Grandma’s Perfect Homemade Bread is sure to impress. It’s a recipe that brings people together and reminds us of the love and care that goes into every loaf.
Why You’ll Love This Recipe
1. Easy and Simple Ingredients
This bread uses basic pantry staples—flour, yeast, sugar, salt, and butter—making it a straightforward recipe even for beginners.
2. Soft and Fluffy Texture
The secret to this bread’s incredible texture lies in the perfect dough kneading and rising process, resulting in a soft, airy interior.
3. Perfect Golden Crust
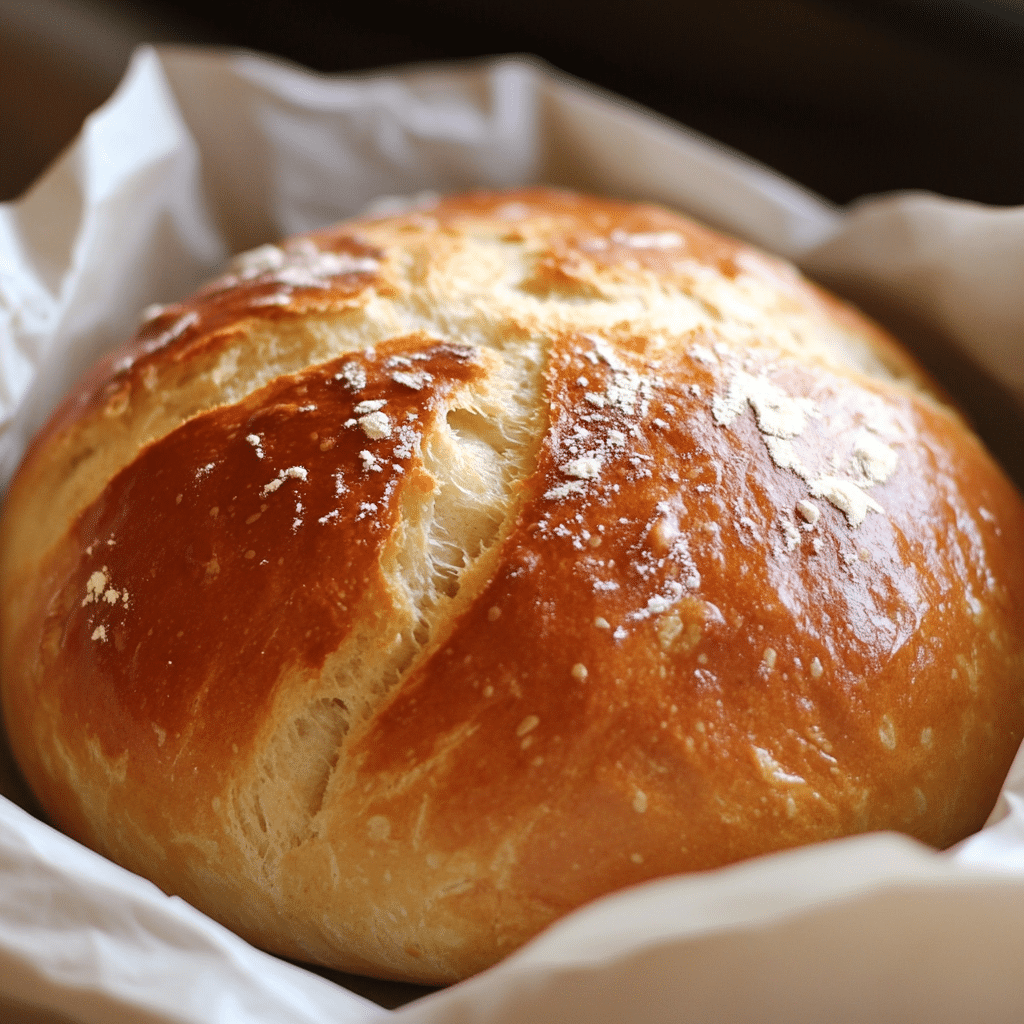
The golden, slightly crunchy crust gives the bread a satisfying texture contrast with the soft, pillowy inside.
4. Versatile
This bread can be used for sandwiches, as a side for soups and stews, or simply toasted with butter for breakfast.
5. Homemade Goodness
There’s nothing like the pride and satisfaction of baking your own bread from scratch. This recipe creates that authentic homemade bread experience.

Ingredients
- All-purpose flour
- Active dry yeast
- Sugar
- Salt
- Butter
- Warm water
- Milk
Variations
- Herb Bread: Add rosemary, thyme, or garlic for a flavorful twist on the classic recipe.
- Whole Wheat Bread: Swap some or all of the all-purpose flour for whole wheat flour for a heartier, fiber-rich loaf.
- Sweet Bread: Add a pinch of cinnamon or a handful of raisins or dried cranberries for a slightly sweet, fruity version.
- Cheese Bread: Stir in shredded cheese, such as cheddar or mozzarella, for a savory, cheesy loaf.
How to Make the Recipe
Step 1: Activate the yeast
In a small bowl, combine warm water, sugar, and yeast. Let it sit for 5-10 minutes, or until the mixture becomes frothy.
Step 2: Mix the dough
In a large bowl, combine the flour and salt. Make a well in the center and pour in the yeast mixture along with melted butter and milk. Stir until a dough forms.
Step 3: Knead the dough
Transfer the dough to a floured surface and knead for about 8-10 minutes until the dough is smooth and elastic.
Step 4: Let the dough rise
Place the dough in a lightly oiled bowl, cover with a clean towel, and let it rise in a warm place for 1-2 hours, or until it has doubled in size.
Step 5: Shape the dough
Once the dough has risen, punch it down to release any air bubbles. Then, shape the dough into a loaf by folding the sides in and rolling it tightly.
Step 6: Second rise
Place the shaped dough into a greased loaf pan and cover it with a towel. Let it rise for another 30-60 minutes until it has risen to the top of the pan.
Step 7: Bake the bread
Preheat the oven to 375°F (190°C). Once the dough has finished its second rise, bake for 25-30 minutes, or until the top is golden brown and the bread sounds hollow when tapped.
Step 8: Cool and serve
Remove the bread from the oven and let it cool on a wire rack for at least 10 minutes before slicing and serving.

Tips for Making the Recipe
- Check the temperature of the water: Water that’s too hot can kill the yeast, and water that’s too cold may not activate it properly. The ideal temperature is about 110°F (43°C).
- Knead well: Proper kneading helps develop the gluten, giving the bread its structure and soft texture. Be patient and knead until the dough feels smooth and elastic.
- Don’t rush the rise: Allow the dough to rise in a warm, draft-free area. If you’re in a hurry, you can place the dough in an oven with just the light on for a warm environment.
- Test for doneness: When tapping the bread, if it sounds hollow, it’s ready. You can also use a thermometer to check that the internal temperature is around 190°F (88°C).
How to Serve
- Breakfast: Slice and toast the bread, then spread with butter, jam, or honey.
- Sandwiches: Use for classic sandwiches or grilled cheese for a satisfying lunch.
- With Soup: Pair the bread with your favorite soup or stew to soak up all the delicious broth.
- As a Side: Serve alongside roasted meats or salads for a comforting addition to dinner.
Make Ahead and Storage
Storing Leftovers
Store any leftover bread in an airtight container or bread box at room temperature for up to 3-4 days. You can also wrap it in plastic wrap to keep it fresh.
Freezing
To freeze, slice the bread and wrap individual slices in plastic wrap or foil before placing them in a freezer-safe bag. The bread will stay fresh for up to 3 months. When ready to use, simply thaw at room temperature or toast straight from the freezer.
Reheating
Reheat slices in the toaster or wrap the whole loaf in foil and warm it in the oven at 350°F (175°C) for 10-15 minutes.
FAQs
1. Can I use instant yeast instead of active dry yeast?
Yes, you can use instant yeast. Simply add it directly to the dry ingredients without needing to activate it in water.
2. Can I make this bread without butter?
Yes, you can substitute the butter with vegetable oil or omit it entirely for a dairy-free version.
3. Can I double the recipe?
Absolutely! You can double the ingredients to make two loaves. Just ensure you have a large enough bowl for mixing and rising.
4. Can I use bread flour instead of all-purpose flour?
Yes, bread flour works great and will give your bread a slightly chewier texture.
5. How do I know when the bread is done baking?
The bread is done when it’s golden brown on top and sounds hollow when tapped on the bottom. You can also check with a thermometer—aim for an internal temperature of about 190°F (88°C).
6. Can I add seeds or nuts to this bread?
Yes! Feel free to add sunflower seeds, flaxseeds, or chopped walnuts to the dough for extra texture and flavor.
7. Can I make this bread without milk?
Yes, you can use water instead of milk, but the bread will be slightly less rich.
8. How do I prevent the bread from getting too dry?
Ensure that you don’t overbake the bread. The perfect baking time will result in a soft, moist loaf.
9. Can I freeze the dough before baking?
Yes, you can freeze the dough after it’s risen. Shape it, wrap it tightly, and freeze for up to 2 months. Let it thaw in the fridge overnight and allow it to rise before baking.
10. Can I make this bread in a bread machine?
Yes, you can adapt the recipe for a bread machine by adding the ingredients in the order recommended by the machine’s instructions.

Conclusion
Grandma’s Perfect Homemade Bread is more than just a recipe; it’s a slice of tradition and comfort that brings people together. With its simple ingredients, soft texture, and golden crust, this bread will quickly become a family favorite. Whether you’re making it for yourself or sharing it with loved ones, every loaf is a reminder of the care and love that goes into homemade baking. So, roll up your sleeves and get baking—you’ll soon have a loaf of bread that’s not only delicious but also filled with the warm memories of generations past.
Print
Grandma’s Perfect Homemade Bread: A Timeless Classic
- Total Time: 1 hour 45 minutes (including rise time)
- Yield: 1 loaf (12 slices) 1x
- Diet: Vegetarian
Description
This timeless recipe for Grandma’s Perfect Homemade Bread will fill your kitchen with the warm, comforting aroma of freshly baked bread. With a soft, fluffy texture and a golden-brown crust, it’s the kind of bread that feels like a hug in every slice. Perfect for sandwiches, toast, or just enjoying with butter!
Ingredients
-
1 cup warm water
-
2 tablespoons sugar
-
2 1/4 teaspoons active dry yeast
-
1/2 cup milk, warmed
-
2 tablespoons butter, melted
-
3 1/2 cups all-purpose flour (plus more for dusting)
-
1 1/2 teaspoons salt
-
1 tablespoon vegetable oil (for greasing the bowl)
Instructions
-
In a small bowl, combine warm water and sugar. Sprinkle the yeast on top, and let it sit for 5 minutes, until foamy.
-
In a large mixing bowl, combine the flour and salt. Create a well in the center and pour in the yeast mixture, milk, and melted butter.
-
Stir with a spoon until the dough begins to come together, then knead by hand on a lightly floured surface for about 10 minutes, until the dough is smooth and elastic.
-
Place the dough in a lightly oiled bowl, cover with a cloth, and let it rise in a warm place for about 1 hour, or until doubled in size.
-
Preheat the oven to 375°F (190°C).
-
Punch down the dough and shape it into a loaf. Place it in a greased 9×5-inch loaf pan.
-
Let the dough rise again for 30 minutes, or until it’s puffed up above the edge of the pan.
-
Bake for 25-30 minutes, or until the bread is golden brown on top and sounds hollow when tapped on the bottom.
-
Remove from the pan and cool on a wire rack before slicing.
Notes
Make sure the water is warm, but not too hot—about 100°F (38°C) is ideal, or it may kill the yeast.
For a crispier crust, place a small pan of water in the oven while baking to create steam.
This bread can also be made into dinner rolls or smaller loaves for a different shape.
- Prep Time: 15 minutes
- Cook Time: 30 minutes
- Category: Bread
- Method: Baking
- Cuisine: American