If you’ve ever enjoyed the iconic soft and fluffy bread that accompanies Raising Canes’ famous chicken fingers, you know how irresistible that warm, buttery loaf can be. The good news? You don’t have to hit the drive-thru to savor this comfort food favorite. This Raising Canes Bread Recipe unlocks the secrets to recreating that perfect, pillowy bread right in your own kitchen. With simple ingredients and easy steps, you’ll master a homemade version that’s soft, flavorful, and just melts in your mouth every time.
Why You’ll Love This Recipe
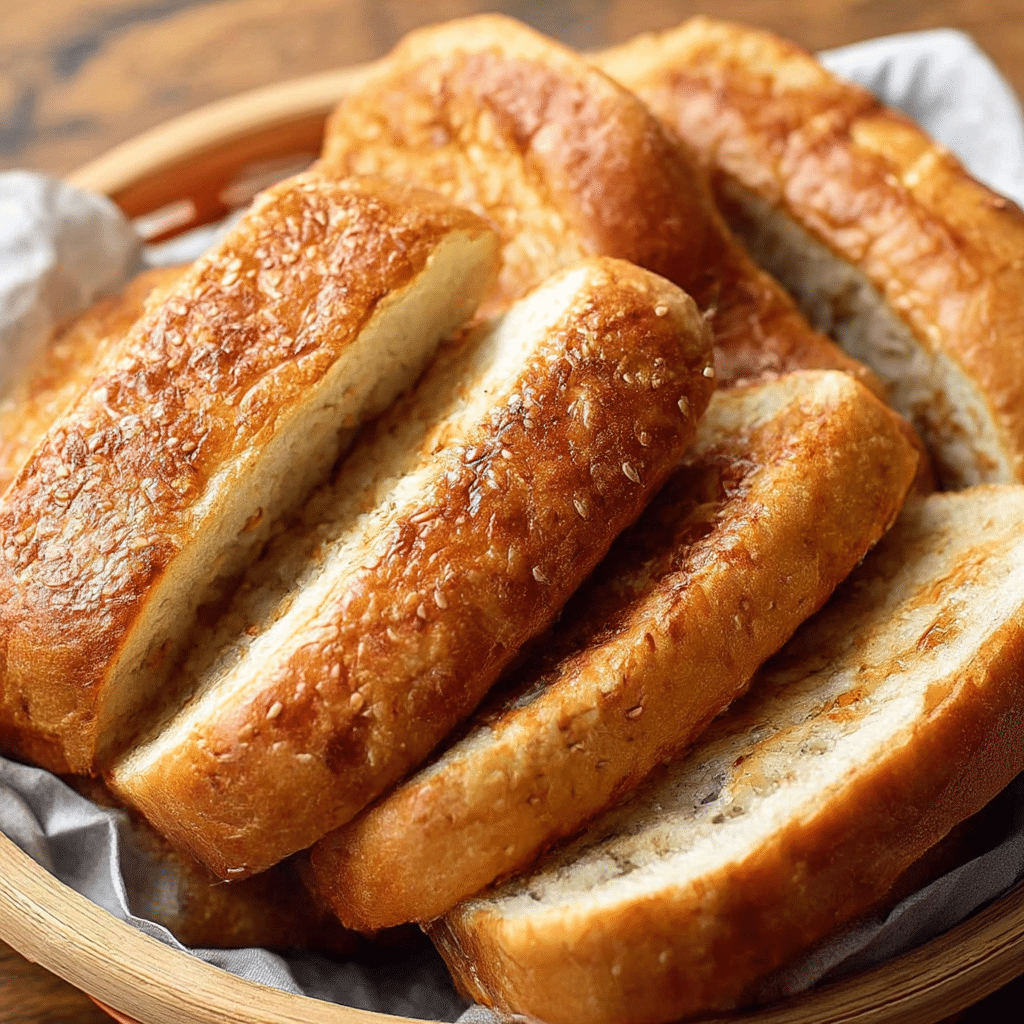
- Authentic texture: This recipe captures the soft, fluffy crumb that makes Raising Canes bread so addictive.
- Simple ingredients: You likely have everything you need in your pantry, making this an easy bread to prepare anytime.
- Versatile use: Perfect not only with chicken but also for sandwiches or enjoying with butter and jam.
- Impress your guests: Homemade bread always elevates any meal with that fresh-baked warmth and aroma.
- Cost-effective: Save money by making this bread yourself instead of buying specialty loaves.
Ingredients You’ll Need
Though it might seem like a fancy restaurant bread, the Raising Canes Bread Recipe uses straightforward ingredients that work together to create its signature softness, golden crust, and subtle buttery flavor.
- All-purpose flour: The base of the dough, providing structure and chewiness.
- Warm water: Activates the yeast and helps create a light crumb.
- Granulated sugar: Feeds the yeast and adds a slight sweetness to the bread.
- Active dry yeast: The secret agent for that perfect rise and airy texture.
- Salt: Balances the flavors and controls yeast activity for even fermentation.
- Unsalted butter: Adds richness and moisture for that tender crumb and golden crust.
- Milk (optional): Enhances softness and gives a subtle richness.
- Egg (optional): Provides structure and a glossy finish if you want a shiny crust.
Variations for Raising Canes Bread Recipe
The beauty of this bread recipe is how easily it adapts to your preferences or dietary needs. Feel free to experiment by adding your own twist to make it yours.
- Whole wheat blend: Swap half the all-purpose flour for whole wheat for a nuttier flavor and added fiber.
- Herb infusion: Add rosemary, thyme, or garlic powder to the dough for an herby aroma perfect for savory pairings.
- Dairy-free option: Replace butter with coconut oil and use almond or oat milk instead of dairy milk to keep it vegan-friendly.
- Sweet cinnamon bread: Mix cinnamon and brown sugar into the dough or as a swirl to turn it into a breakfast treat.
- Seed toppings: Brush the top with milk or egg wash and sprinkle sesame or poppy seeds for an extra crunch.

How to Make Raising Canes Bread Recipe
Step 1: Activate the Yeast
Begin by dissolving sugar in warm water, then sprinkle the active dry yeast on top. Let it sit for 5 to 10 minutes until it becomes frothy—this signals your yeast is alive and ready to work its magic.
Step 2: Mix the Dough
In a large mixing bowl, combine the flour and salt. Add the melted butter, milk (if using), and the activated yeast mixture. Stir everything together until it forms a rough dough.
Step 3: Knead for Softness
Transfer the dough to a floured surface and knead for at least 8 to 10 minutes. Kneading develops gluten, which gives the bread its chewy yet tender texture. The dough should be smooth and slightly tacky.
Step 4: Let It Rise
Place the dough in a lightly greased bowl, cover with a clean kitchen towel or plastic wrap, and let it rise in a warm place for about 1 to 1.5 hours until it doubles in size. This rest is crucial for developing flavor and softness.
Step 5: Shape and Proof
Punch down the dough gently to release air bubbles. Shape it into a loaf by folding and tucking the edges to create tension on the surface. Transfer it to a greased loaf pan or baking sheet and let it proof for another 30 to 45 minutes.
Step 6: Bake to Perfection
Preheat your oven to 350°F (175°C). Optionally, brush the top of the loaf with egg wash to get that glossy crust. Bake for 30 to 35 minutes or until the crust is golden and the internal temperature hits about 190°F (88°C).
Step 7: Cool and Enjoy
Remove the bread from the oven and allow it to cool in the pan for 10 minutes before transferring it to a wire rack. This cooling step prevents sogginess and helps maintain the perfect texture.
Pro Tips for Making Raising Canes Bread Recipe
- Use fresh yeast: Old yeast can lose potency, so always check expiration dates for a reliable rise.
- Water temperature matters: Keep water warm, not hot, around 105-110°F to activate yeast without killing it.
- Knead thoroughly: Proper gluten development is key to that iconic soft chewiness.
- Don’t rush the rise: Patience here means better flavor and texture—let the dough fully double in size.
- Adjust humidity: If your kitchen is dry, mist the dough lightly or cover tightly to prevent skinning.
- Use a kitchen thermometer: Ensuring the bread bakes to the perfect internal temperature guarantees it’s fully cooked but still moist.
How to Serve Raising Canes Bread Recipe
Garnishes
While the bread is fantastic on its own, try brushing the top with melted butter immediately after baking. You can also sprinkle a bit of garlic powder or parsley flakes to add an extra flavor dimension.
Side Dishes
Pair your Raising Canes bread with classic dipping sauces like honey mustard, spicy mayo, or ranch dressing. It also complements soups, salads, and that famous Raising Canes chicken perfectly.
Creative Ways to Present
Toast slices lightly and serve with herb butter or make mini sliders using your favorite sandwich fillings. For a cozy brunch, use the bread as a base for French toast topped with fresh fruit and maple syrup.
Make Ahead and Storage
Storing Leftovers
Store any leftover bread in an airtight container or resealable plastic bag at room temperature for up to 3 days to maintain freshness and softness.
Freezing
Wrap the loaf tightly in plastic wrap and then foil before freezing. This can preserve the bread for up to 3 months without sacrificing texture or flavor.
Reheating
Thaw frozen bread at room temperature and reheat in a 350°F oven for 8-10 minutes to regain that fresh-baked warmth and softness. Avoid microwaving to prevent rubbery texture.
FAQs
Can I use instant yeast instead of active dry yeast?
Yes, instant yeast can be used in place of active dry yeast. Simply mix it directly with the dry ingredients and reduce the activation time since it works faster.
What if my dough doesn’t rise properly?
Check that your yeast is fresh and the water temperature is correct. Also, ensure the rising environment is warm and draft-free to encourage proper fermentation.
Can I make this bread without milk or eggs?
Absolutely! Milk and eggs add richness but aren’t essential. Replace milk with water or plant-based milk, and omit eggs to keep it dairy-free and still delicious.
How do I get the bread to have a shiny crust?
Brush the top with an egg wash (beaten egg mixed with a little water) before baking to achieve that glossy, attractive crust.
Is it possible to make this bread in a bread machine?
Yes, you can adapt the recipe for most bread machines by adding ingredients in the recommended order and choosing the basic or white bread cycle.
Final Thoughts
There’s nothing quite like the feeling of pulling a warm, soft, homemade loaf out of the oven, especially one that reminds you of your favorite Raising Canes meal. This Raising Canes Bread Recipe is truly a game-changer for bread lovers who want to recreate that iconic texture and flavor at home. With simple ingredients, easy steps, and a few helpful tips, you’ll be surprised at how fast this bread turns into a family staple everyone craves. So grab your mixing bowl, and let’s bake up a loaf that’s soft, fluffy, and unforgettable!